Feed FlightAware
To put it (very) simple, FlightAware is a company that tracks air-planes. And they provide public access to the tracking data, although with some limitations. To lift those limitations and to gain some other features you can either purchase a Premium Account, or feed FlightAware with data.
But how does this feeding works?
About ADS–B
Every plane has an ADS–B transponder, which periodically sends data about plane’s altitude, speed and so on, that helps to track the plane. This data can be received by anyone, and that’s what FlightAware does - they have a network of ADS–B receivers all over the planet, and the more receivers are there the better is the network’s coverage.
In order to improve the coverage, FlightAware even sends such receivers (FlightFeeder) for free to anyone who wants it, although it depends on the area of residence. If your area (like mine) already has a decent coverage, then your request will be denied, and you will be offered to build your own receiver.
Building your own receiver
Yes, you can build an ADS–B receiver yourself. The things you need for that:
- Raspberry Pi (preferably a model with Wi-Fi) and:
- FlightAware Pro Stick USB ADS-B Receiver or its pro-version;
- 1090Mhz antenna.
You may ask, what is in it for you, because you need to purchase all that equipment, assemble it, run it and keep it running, spending electricity and sending data to FlightAware servers. Well, here’s what you get in return:
- FlightAware Premium Account of level Enterprise (almost the latest one) which normally costs ~90 USD;
- Skyview - web-application that runs locally and shows air-planes tracked by your own receiver;
- personal page at FlightAware website with various statistic;
- license for PlanePlotter;
- a good feeling from being a part of a common effort of improving the flights safety.
Anyway, here’s the FlightAware’s instruction and even a video, guiding you through the assembling process.
And here’s a photo of my Raspberry Pi 3 Model B with everything connected:

As you can see, this black case has a fan, which helps with cooling, even though it’s not that necessary.
You can actually even use the first Raspberry Pi Model B, but then you’ll also need to have an RJ-45 cable as this board doesn’t have Wi-Fi:

From my observations Raspberry Pi 3 Model B with a fan usually has a CPU temperature of 40-45℃, whether Raspberry Pi Model B without a fan has 60-65℃.
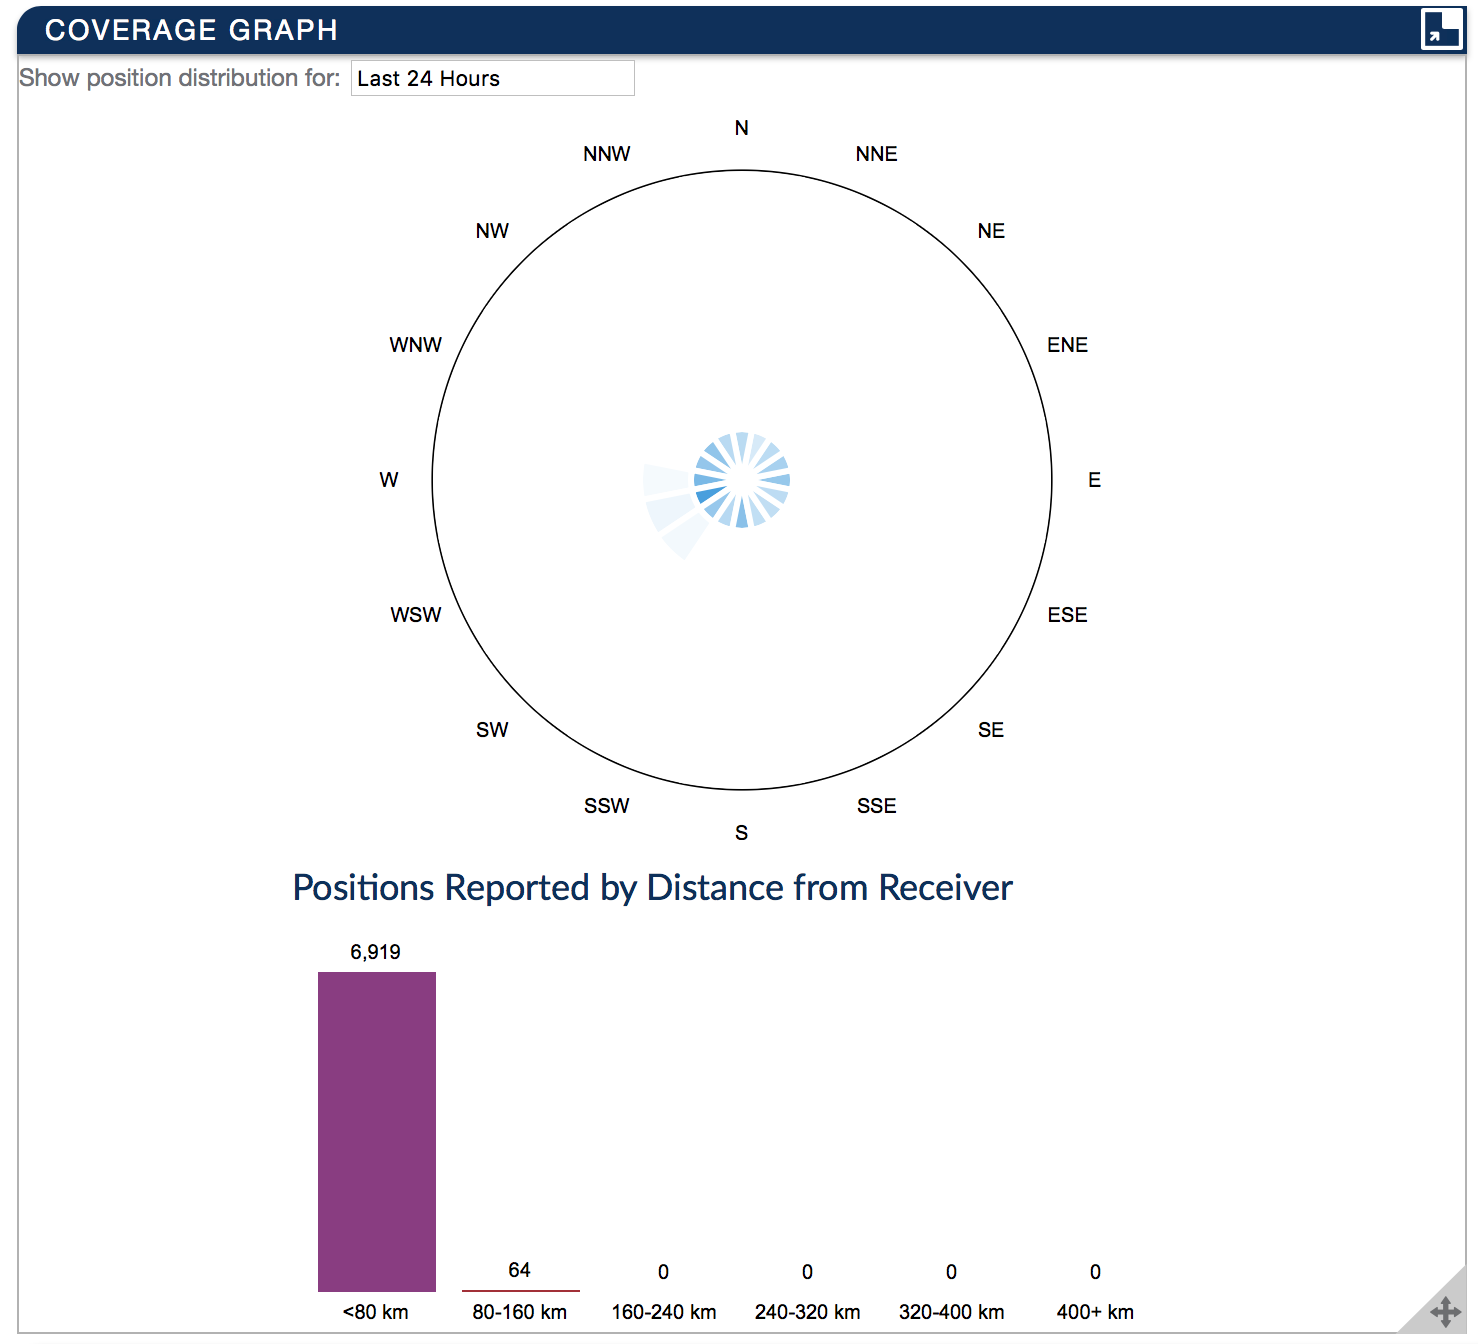
Speaking about the signal strength, it is recommended to place the antenna somewhere with the clear access to the sky. For example, here’s my coverage graph when antenna was installed inside the apartment:
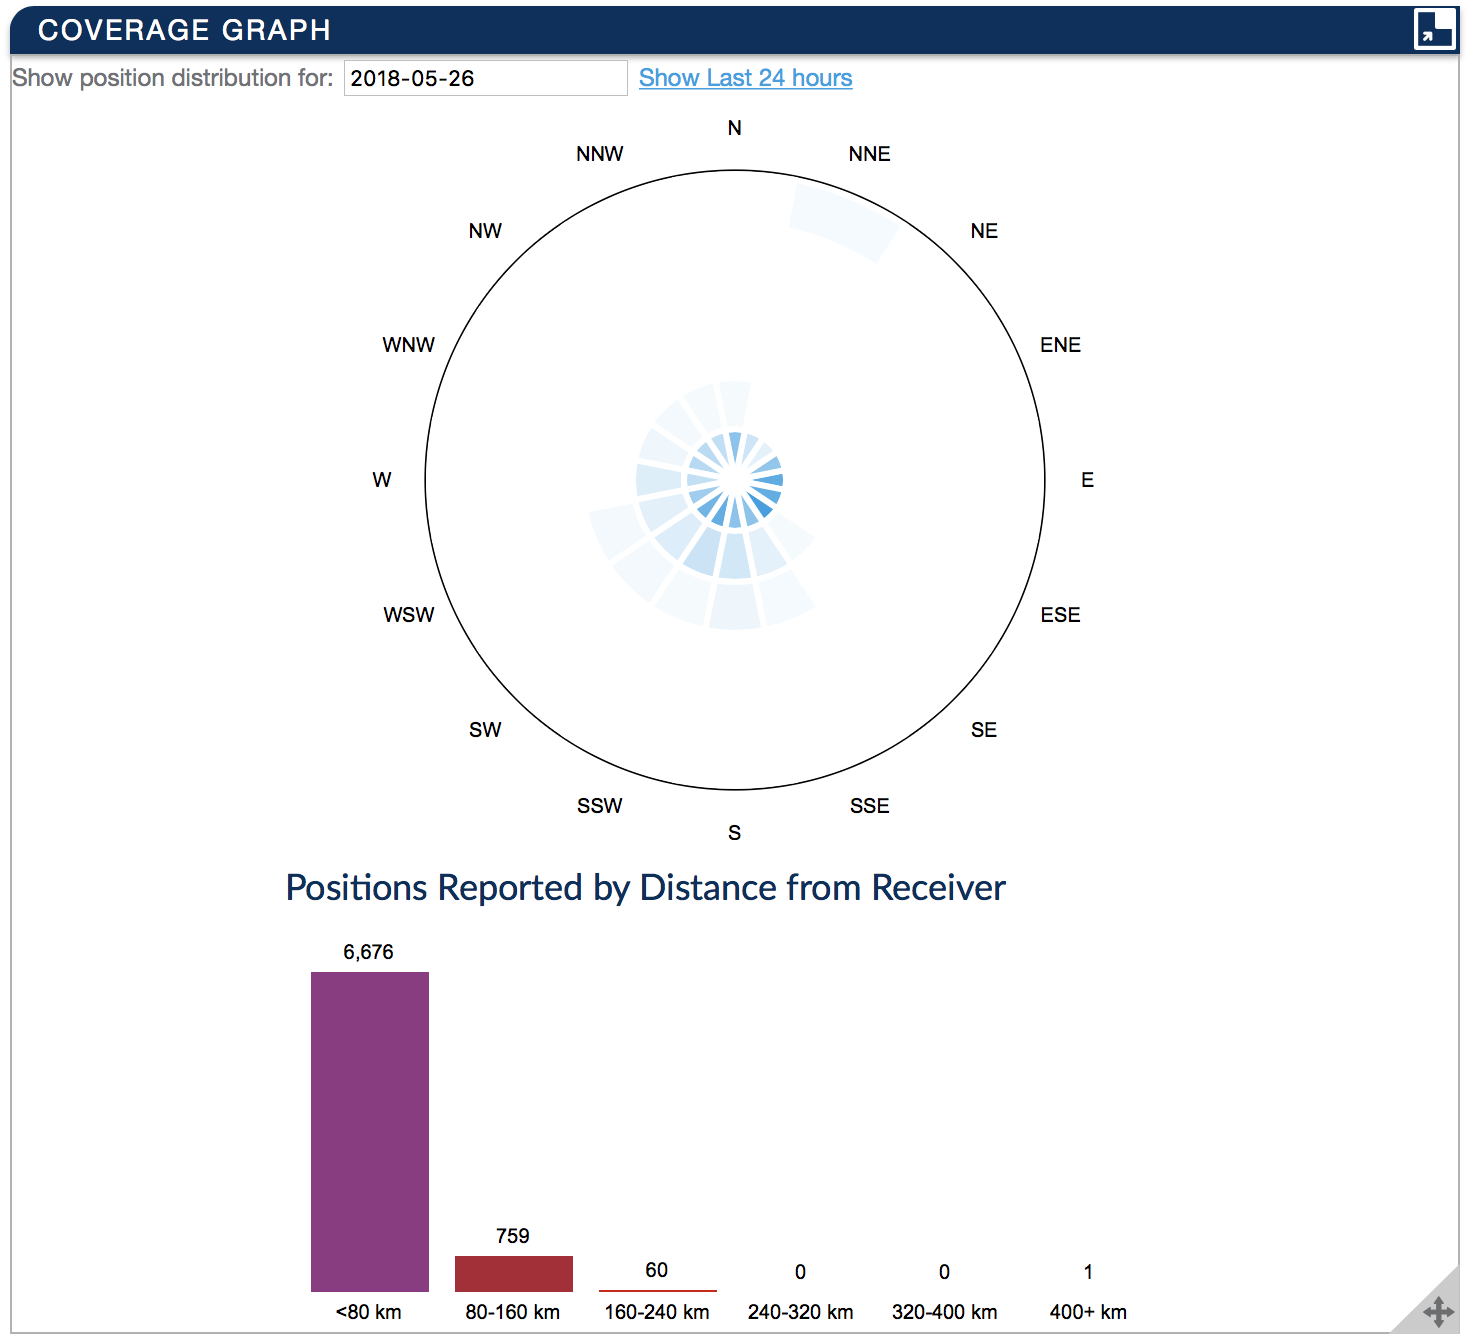
And here’s the graph I got when antenna was placed outside, at my balcony with a clear view to the sky:
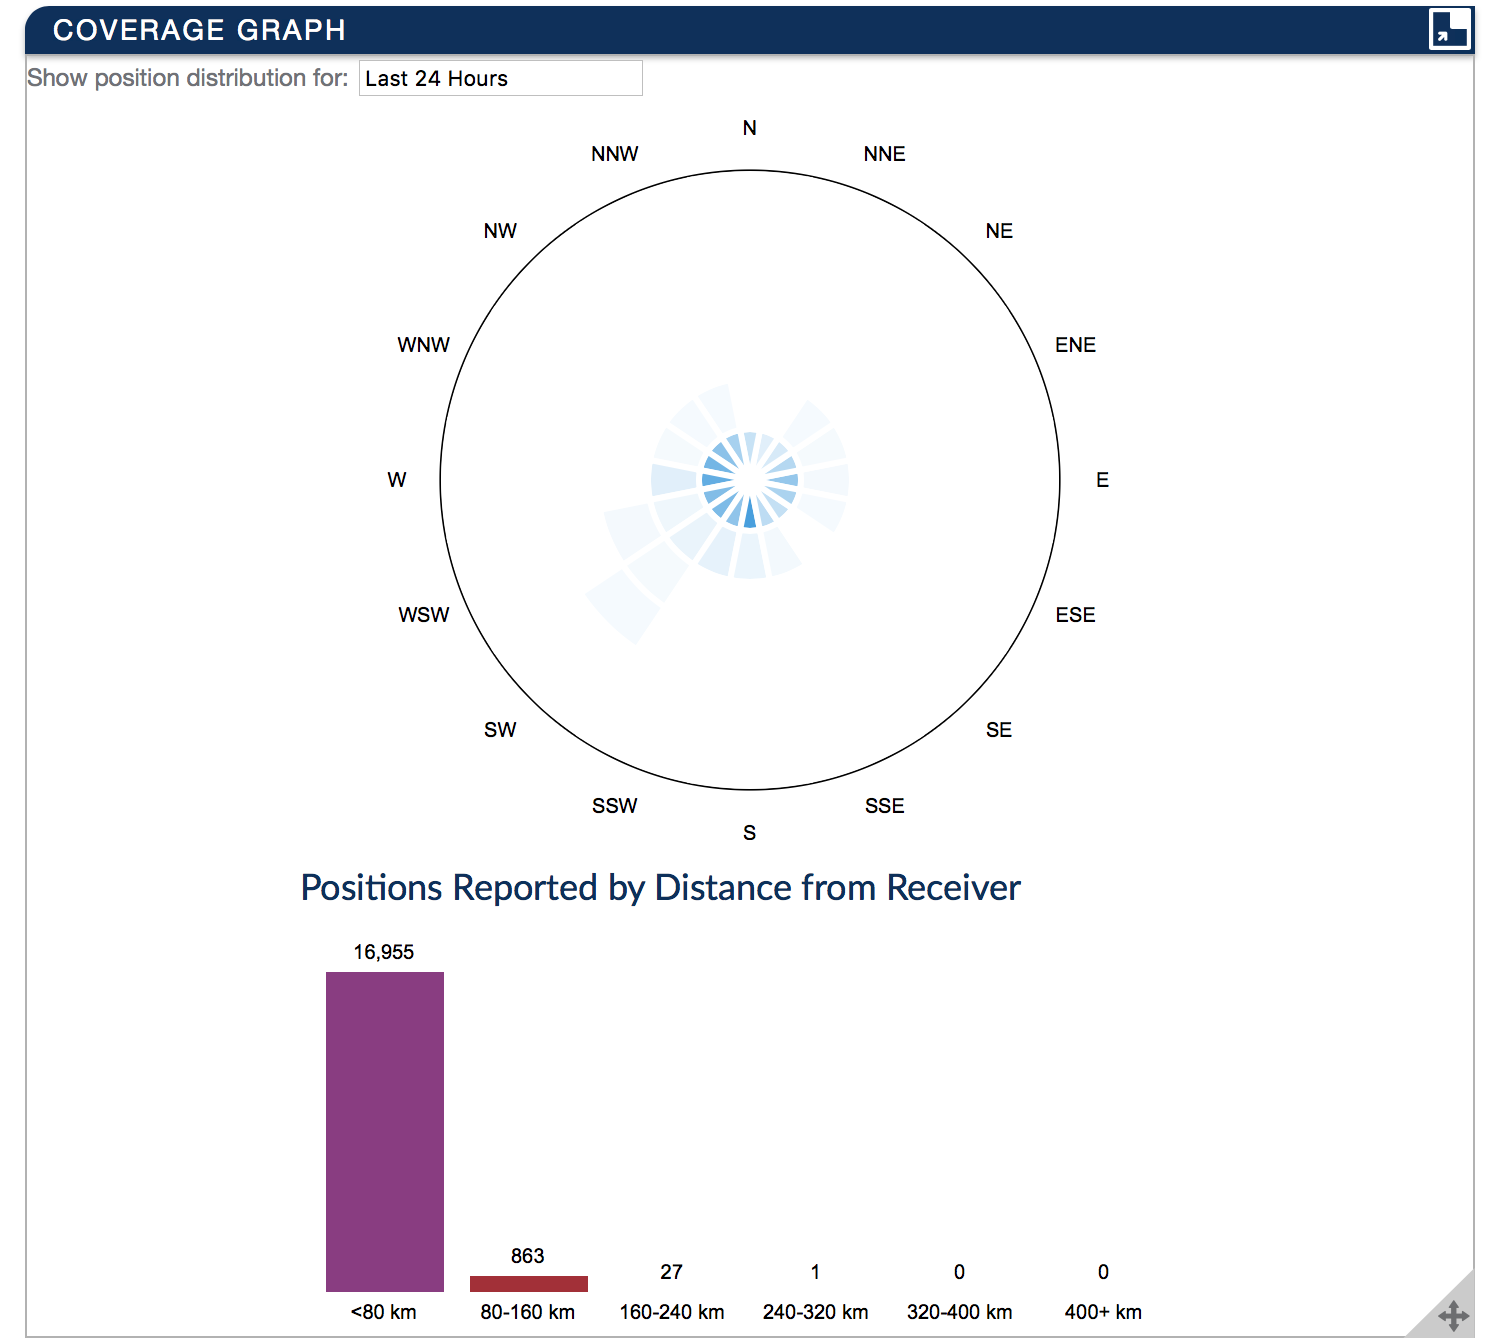
…Although, later I moved it back inside, and here’s the graph I got after a couple of days:
Working with the device
You will need a display for the initial setup, any TV-set with HDMI will do. Connect some keyboard to the Raspberry and login with pi/flightaware credentials.
Enable SSH access:
sudo touch /boot/sshReboot the device. You don’t need a display anymore.
I hope you’ve managed to configure device’s access to your Wi-Fi network (or simply used a network cable), so you can now connect to it via SSH. Don’t forget that it is recommended to change your pi password from the default flightaware.
Find out what IP-address you device has gotten from the your router via DHCP and open it in browser - there is a lighttpd web-server running on the device and serving a page with the system status along with some useful links.
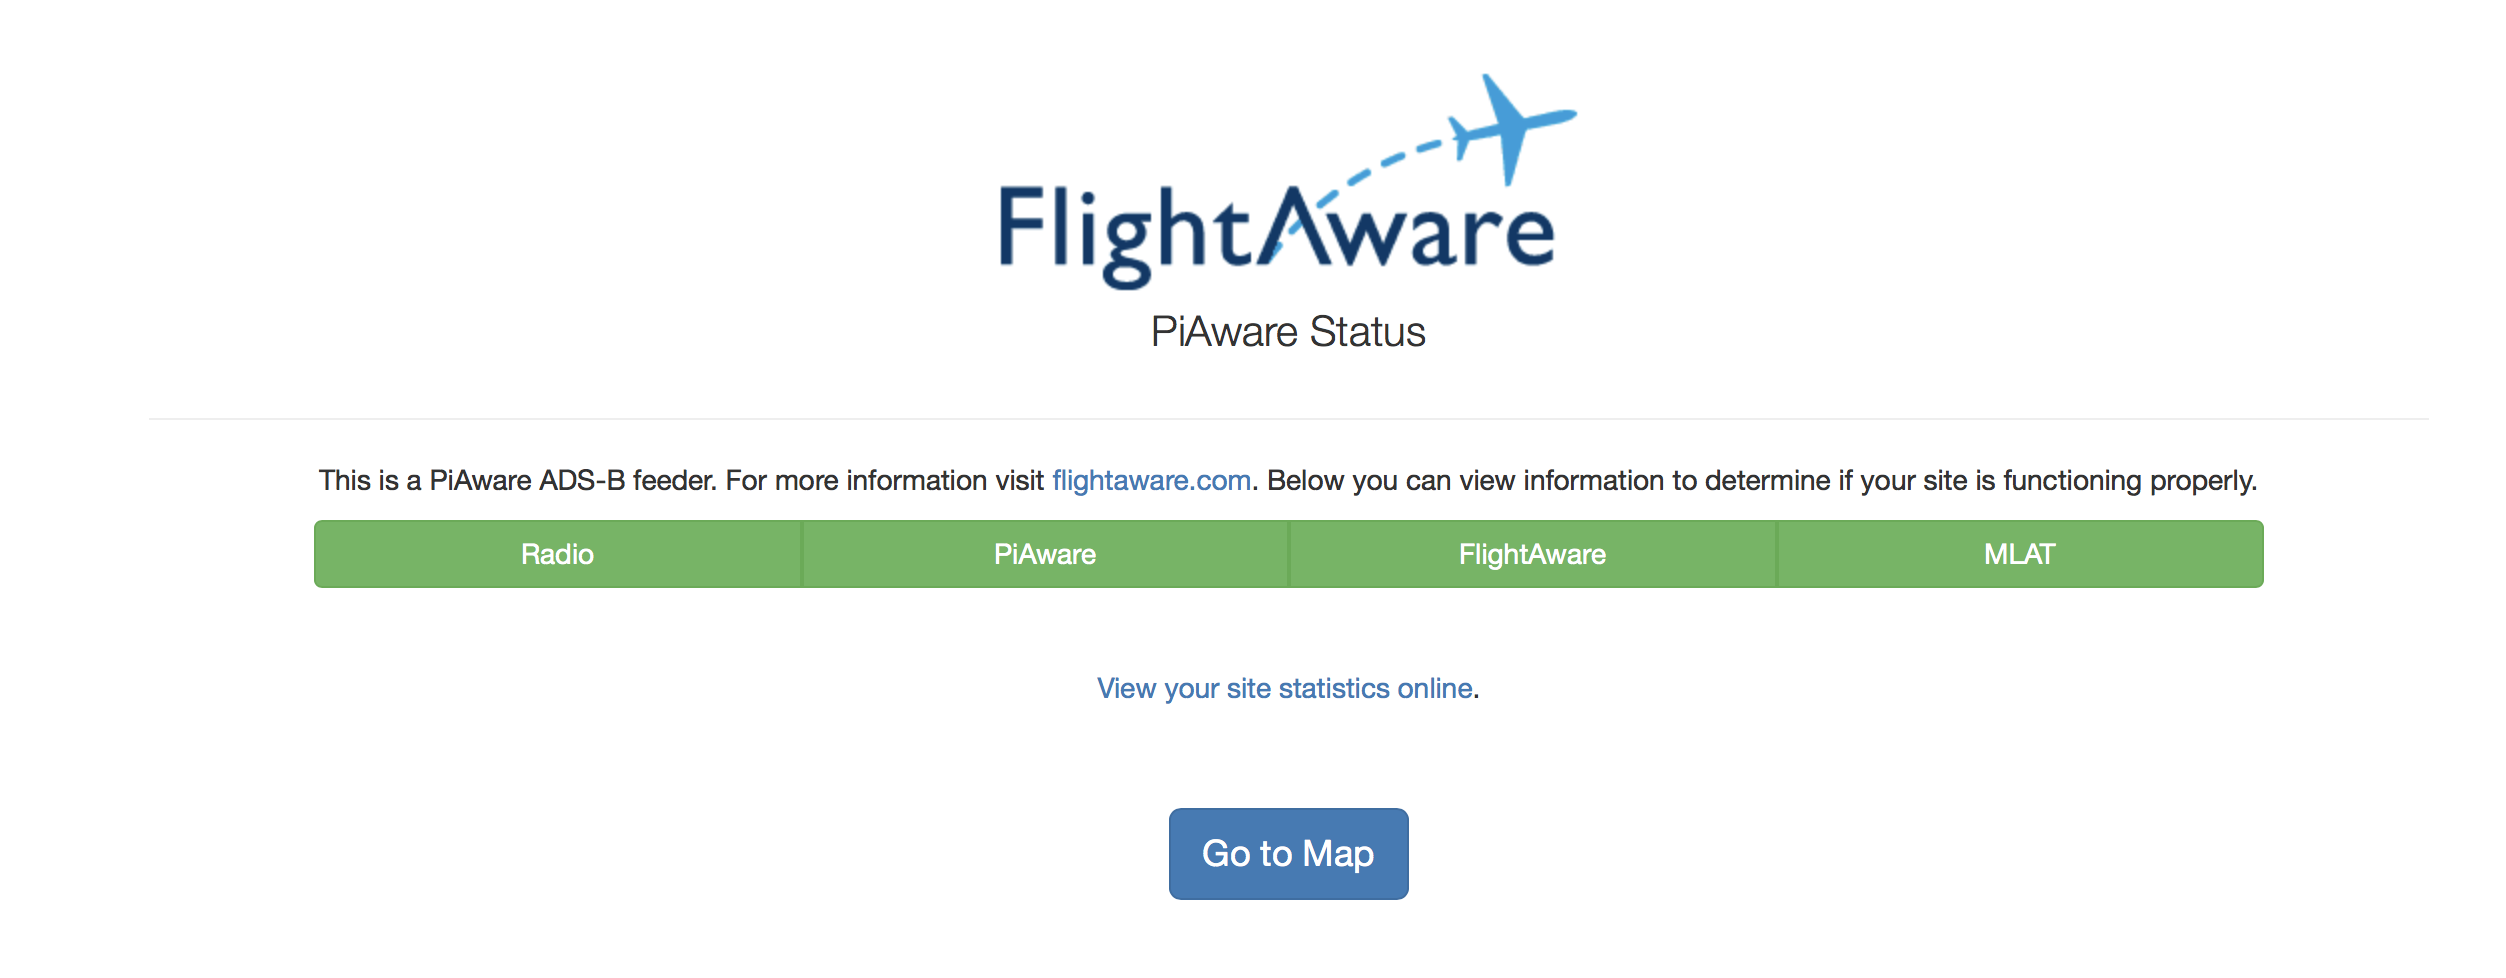
The map is essentially the Skyview web-application that shows planes spotted by your receiver:

If your Radio is yellow (amber):
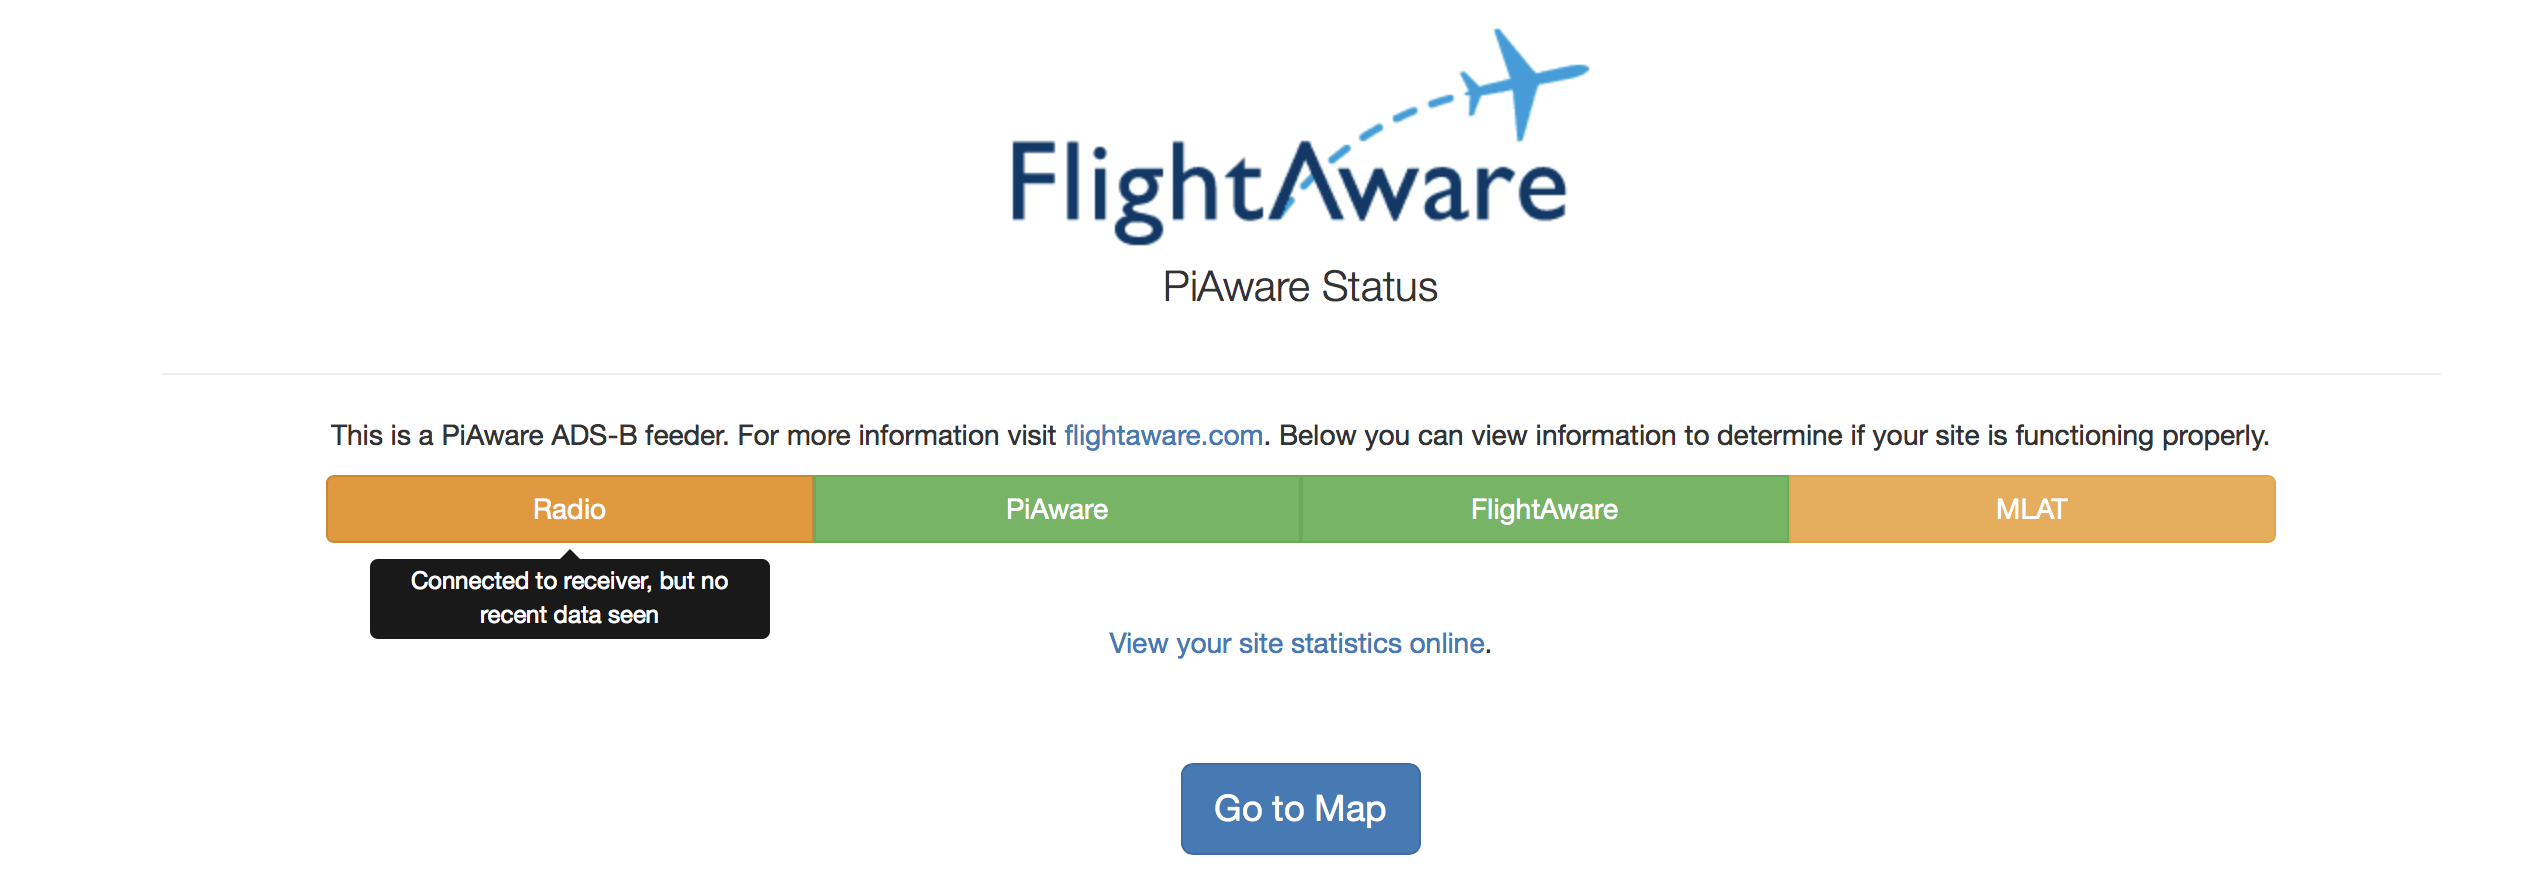
…then probably there is not enough power for it or you have a bad USB cable, try to change the cable or/and power supply.
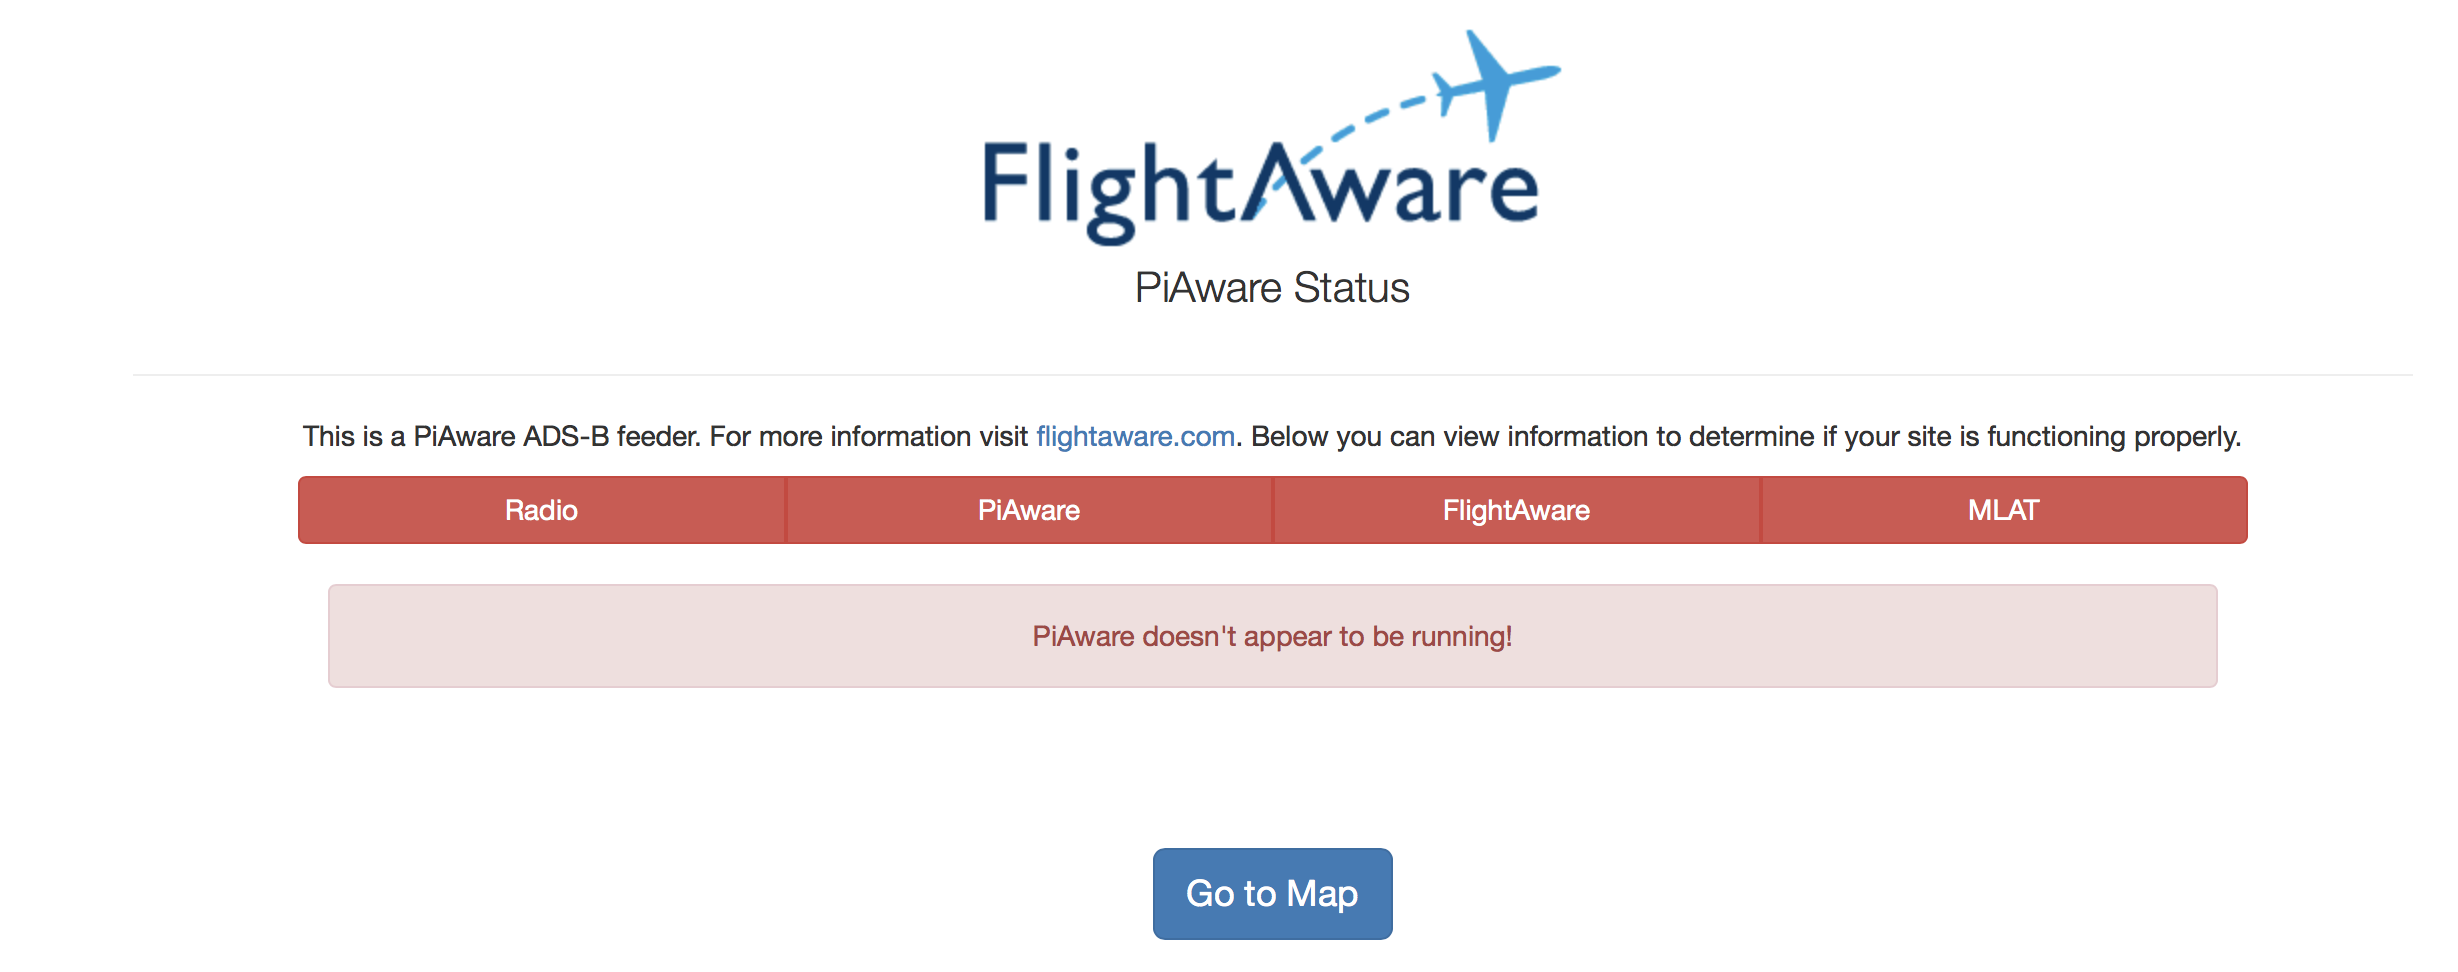
And if everything is red, then just wait a bit, because most probably your system simply hasn’t fully loaded yet:
You can also get these statuses in JSON format from http://YOUR-DEVICE-IP/status.json
{
    "piaware"  : {
        "status"  : "green",
        "message" : "PiAware 3.5.3 is running"
    },
    "expiry"   : 1527435359999,
    "interval" : 5000,
    "mlat"     : {
        "status"  : "green",
        "message" : "Multilateration synchronized"
    },
    "adept"    : {
        "status"  : "green",
        "message" : "Connected to FlightAware and logged in"
    },
    "radio"    : {
        "status"  : "green",
        "message" : "Received Mode S data recently"
    },
    "site_url" : "https://flightaware.com/adsb/stats/user/YOUR-USERNAME",
    "time"     : 1527435348999
}
But what if you want to get some system statuses, like the CPU workload and temperature? Well, since we already have a web-server, we can just add some scripts to cron that would gather such information and dump it to /var/www/html/.
I wrote these 2 scripts:
For them to work you need to create the output files first and change the owner:
sudo touch /var/www/html/pi-status.txt
sudo chown pi /var/www/html/pi-status.txt

sudo touch /var/www/html/piaware-status.txt
sudo chown pi /var/www/html/piaware-status.txt
Then add cron tasks:
*/1 * * * * /home/pi/get-pi-status.sh > /dev/null 2>&1
*/3 * * * * /home/pi/get-piaware-status.sh > /dev/null 2>&1…piaware-status sometimes takes quite a some time to execute, so it’s better not to call for it too often. But it’s not that useful as http://YOUR-DEVICE-IP/status.json anyway.
And restart cron:
sudo systemctl restart cronYou might also want to change the system’s timezone:
sudo dpkg-reconfigure tzdataAnd now you can view this silly statistic in your browser:
- http://YOUR-DEVICE-IP/pi-status.txt
- http://YOUR-DEVICE-IP/piaware-status.txt